
Shoe repair sounds intimidating, and sometimes something should be left to the specialists. But, there are a few things you can fix yourself before sending your booties to your local cobbler.
How to Remove Stains
Fabric/faux leather
My go-to magic shoe cleaner is from Crep Protect. It cleans up any stain, truly; from chocolate to red wine, and yes, I know from experience. But, if you are in a time crunch and don’t have it handy, here is another good way to remove those stains.
Step 1: Always try to address the stain quickly. The longer it sits, the harder it will be to remove.
Step 2: Blot the area (not rub!) with some paper towels to absorb as much liquid as possible.
Step 3: Create your own cleaning solution with 2 cups of warm water, 1 tablespoon of dishwashing detergent, and 1 tablespoon of white vinegar.
Step 4: Grab a clean sponge and attack that stain. Repeat until clean.
Step 5: Dry it off with a clean microfiber towel and sit to dry.
Leather
A bit tricker, but still can be done. Do not try this on suede or nubuck!
Step 1: Create a solution of a very mild soap (facial soap is great) to 8 parts water.
Step 2: Pour mixture onto a microfiber towel and gently wipe. Never treat the stain directly.
Step 3: Let dry and give a final pass with a wet cloth.
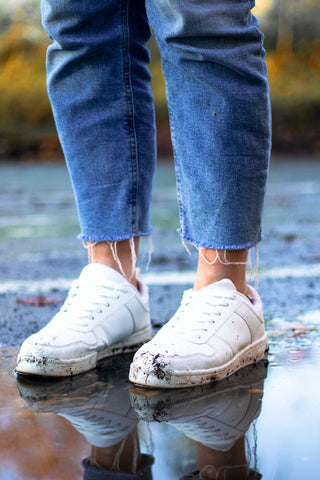
Shoe Sole Repair
Clean them!
White soles can look pretty dingy, quickly. Here is an easy way to make sure they look sparkling clean.
Step 1: Create a solution of ½ water, ½ baking soda. Mix into a paste.
Step 2: Grab an old toothbrush and apply the paste to the soles, moving in a circular motion.
Step 3: Grab a wet cloth and wipe clean.
Glueing
Step 1: Clean the soles.
Step 2: Pull the sole away from the shoe and apply superglue (lightly) along the edge moving your way around then make your way to the middle.
Step 3: Once applied, compress the sole back together for a good few minutes. Leave to dry overnight.
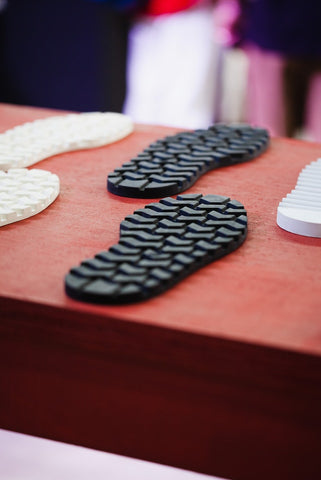
Replacing
If the soles are too far gone, buy a replacement pair. Here is how to attach them…Step 1: Pull the sole away from the shoe. If you are having a hard time, use a hair dryer to heat up the existing glue.
Step 2: Once pulled apart, clean it up with some acetone, and wipe away any leftover glue.
Step 3: Use some sandpaper on the bottom of the shoe as well as the top of the new sole before adding the glue.
Step 4: Apply the glue. Shoe Goo is a good option, but you can also use Gorilla Glue for this as well.
Heel Repair
Broken heels
After following these steps and the heel doesn’t stay still, you may need to take it to a specialist.
Step 1: Clean the heel and the shoe.
Step 2: Use some sandpaper and sand the surfaces.
Step 3: Apply the superglue to one side and press together. Hold for a few minutes.
Step 4: Find a way to apply pressure and let it dry 24 hours.
Worn down heels
Many heels come with extra tips just for this issue and they are pretty easy to replace.
Step 1: Use some pliers and wiggle the worn down heel cap out of the heel.
Step 2: Attach the new cap with your fingers first, once aligned, hammer it in.
Overall Repairs
Slippery shoes
Living in Portland, this trick will definitely come in handy.
Pro tip: Always make sure to clean the surface before working.
Option 1: Roughen up the soles with some sandpaper or even a nail file.
Option 2: Buy and apply some grip pads to the soles of the shoes.
Option 3: Apply some puffy paint or hot glue to the soles.
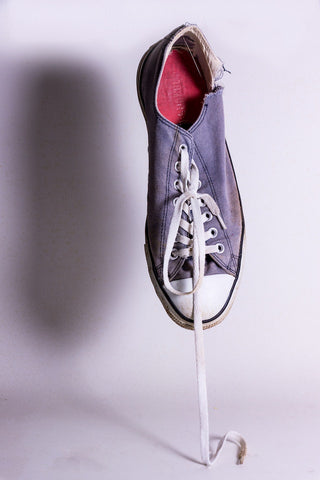
Fixing shoelace ends
This tip also applies for hoodie strings.
Step 1: Get yourself some heat shrink tubing.
Step 2: Clean up the laces by trimming away the frayed ends.
Step 3: Insert the lace into the tubing. If you don’t have the other lace for reference, ¾” is about the right length.
Step 4: Use a heat gun to heat up the tubing. Don’t have one? No worries, use a lighter or candle to heat it up. (make sure to rotate regularly to ensure even shrinking)
Step 5: Once cooled, trim the excess. That’s it!
Reattach flip flop straps
Step 1: Push the thong back through the hole.
Step 2: Using a lighter, melt the tip of the thong.
Step 3: Push the lighter against the melting rubber to create a disc.
Step 4: Repeat until the disc is larger than the hole.
Step 5: Let dry and there you go!
I hope this mini guide has helped you repair any shoe woes. Got any more tips and tricks? Let me know in the comments!
Till next time,
Dre
1 comment
Thanks for mentioning that mild soap can be used to clean leather. I have a pair of leather boots and they’re really dirty and scuffed up. It’d be great to take them to a professional shoe repair company to get the scuffs removed. http://www.expertshoeandluggagerepair.com